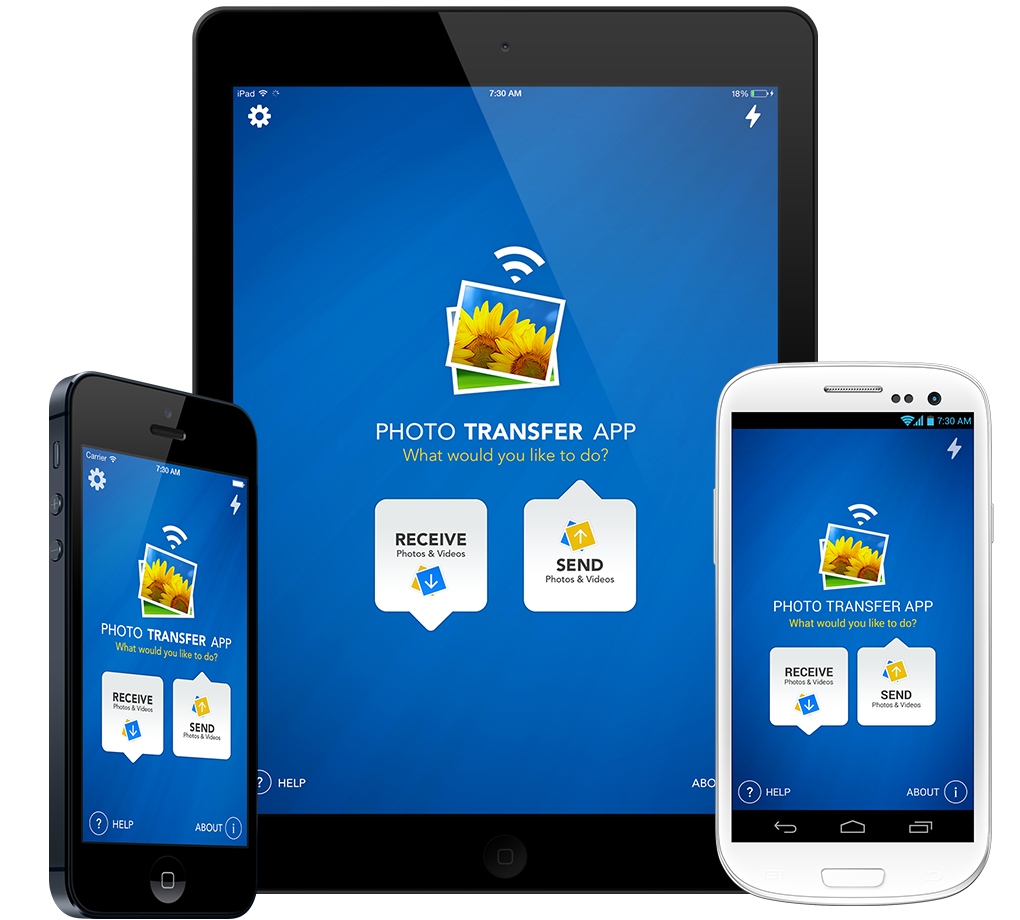
BACKUP ALBUMS from your your iPhone, iPad, iPad mini or iPod Touch to your Mac computer
1 Make sure that your iPhone, iPad, iPad mini or iPod Touch and your Mac are connected to the same Wi-Fi network.

2 Run 'Photo Transfer App' on your iPhone, iTouch, iPad, iPad mini.

3 Run 'Photo Transfer App' on your Mac and then touch the 'Discover Devices' button.

4 Click on the discovered device you want to Explore photos & videos from.
! IMPORTANT: Read this if your device is not discovered when you click on 'Discover Devices'.

5 Click on the "Backup Album" button.

6 Select Albums you want to Backup and Click the "Start Backup" button to start the backup.

6 Backed Up Albums will be located by default in your Home folder in Pictures folder, under the *"Device Name" subfolder.
*
In our case, our device is called "iPad New", and photos are located in Pictures/iPad New folder.

Done!
Changing the Location of your BACK UP Folder

1 You can change location of your backups by clicking "Settings" button, and "Change Loction" button.
Warning: Beacuse of the new Apple App Sandboxing settings changing the backup path applies ONLY to this session. When you restart the app you will have to set the backup path again.

2 Navigate to the desired folder or create a new one by clicking "New Folder" / "Create".


NEED HELP ?
Get answers,
consult our Help Pages
for iPhone for iPad for Android for Plugins
Contact info@phototransferapp.com